The Perfect Sourdough Doesn't Exist
Feb. 9th, 2025 9:09 am
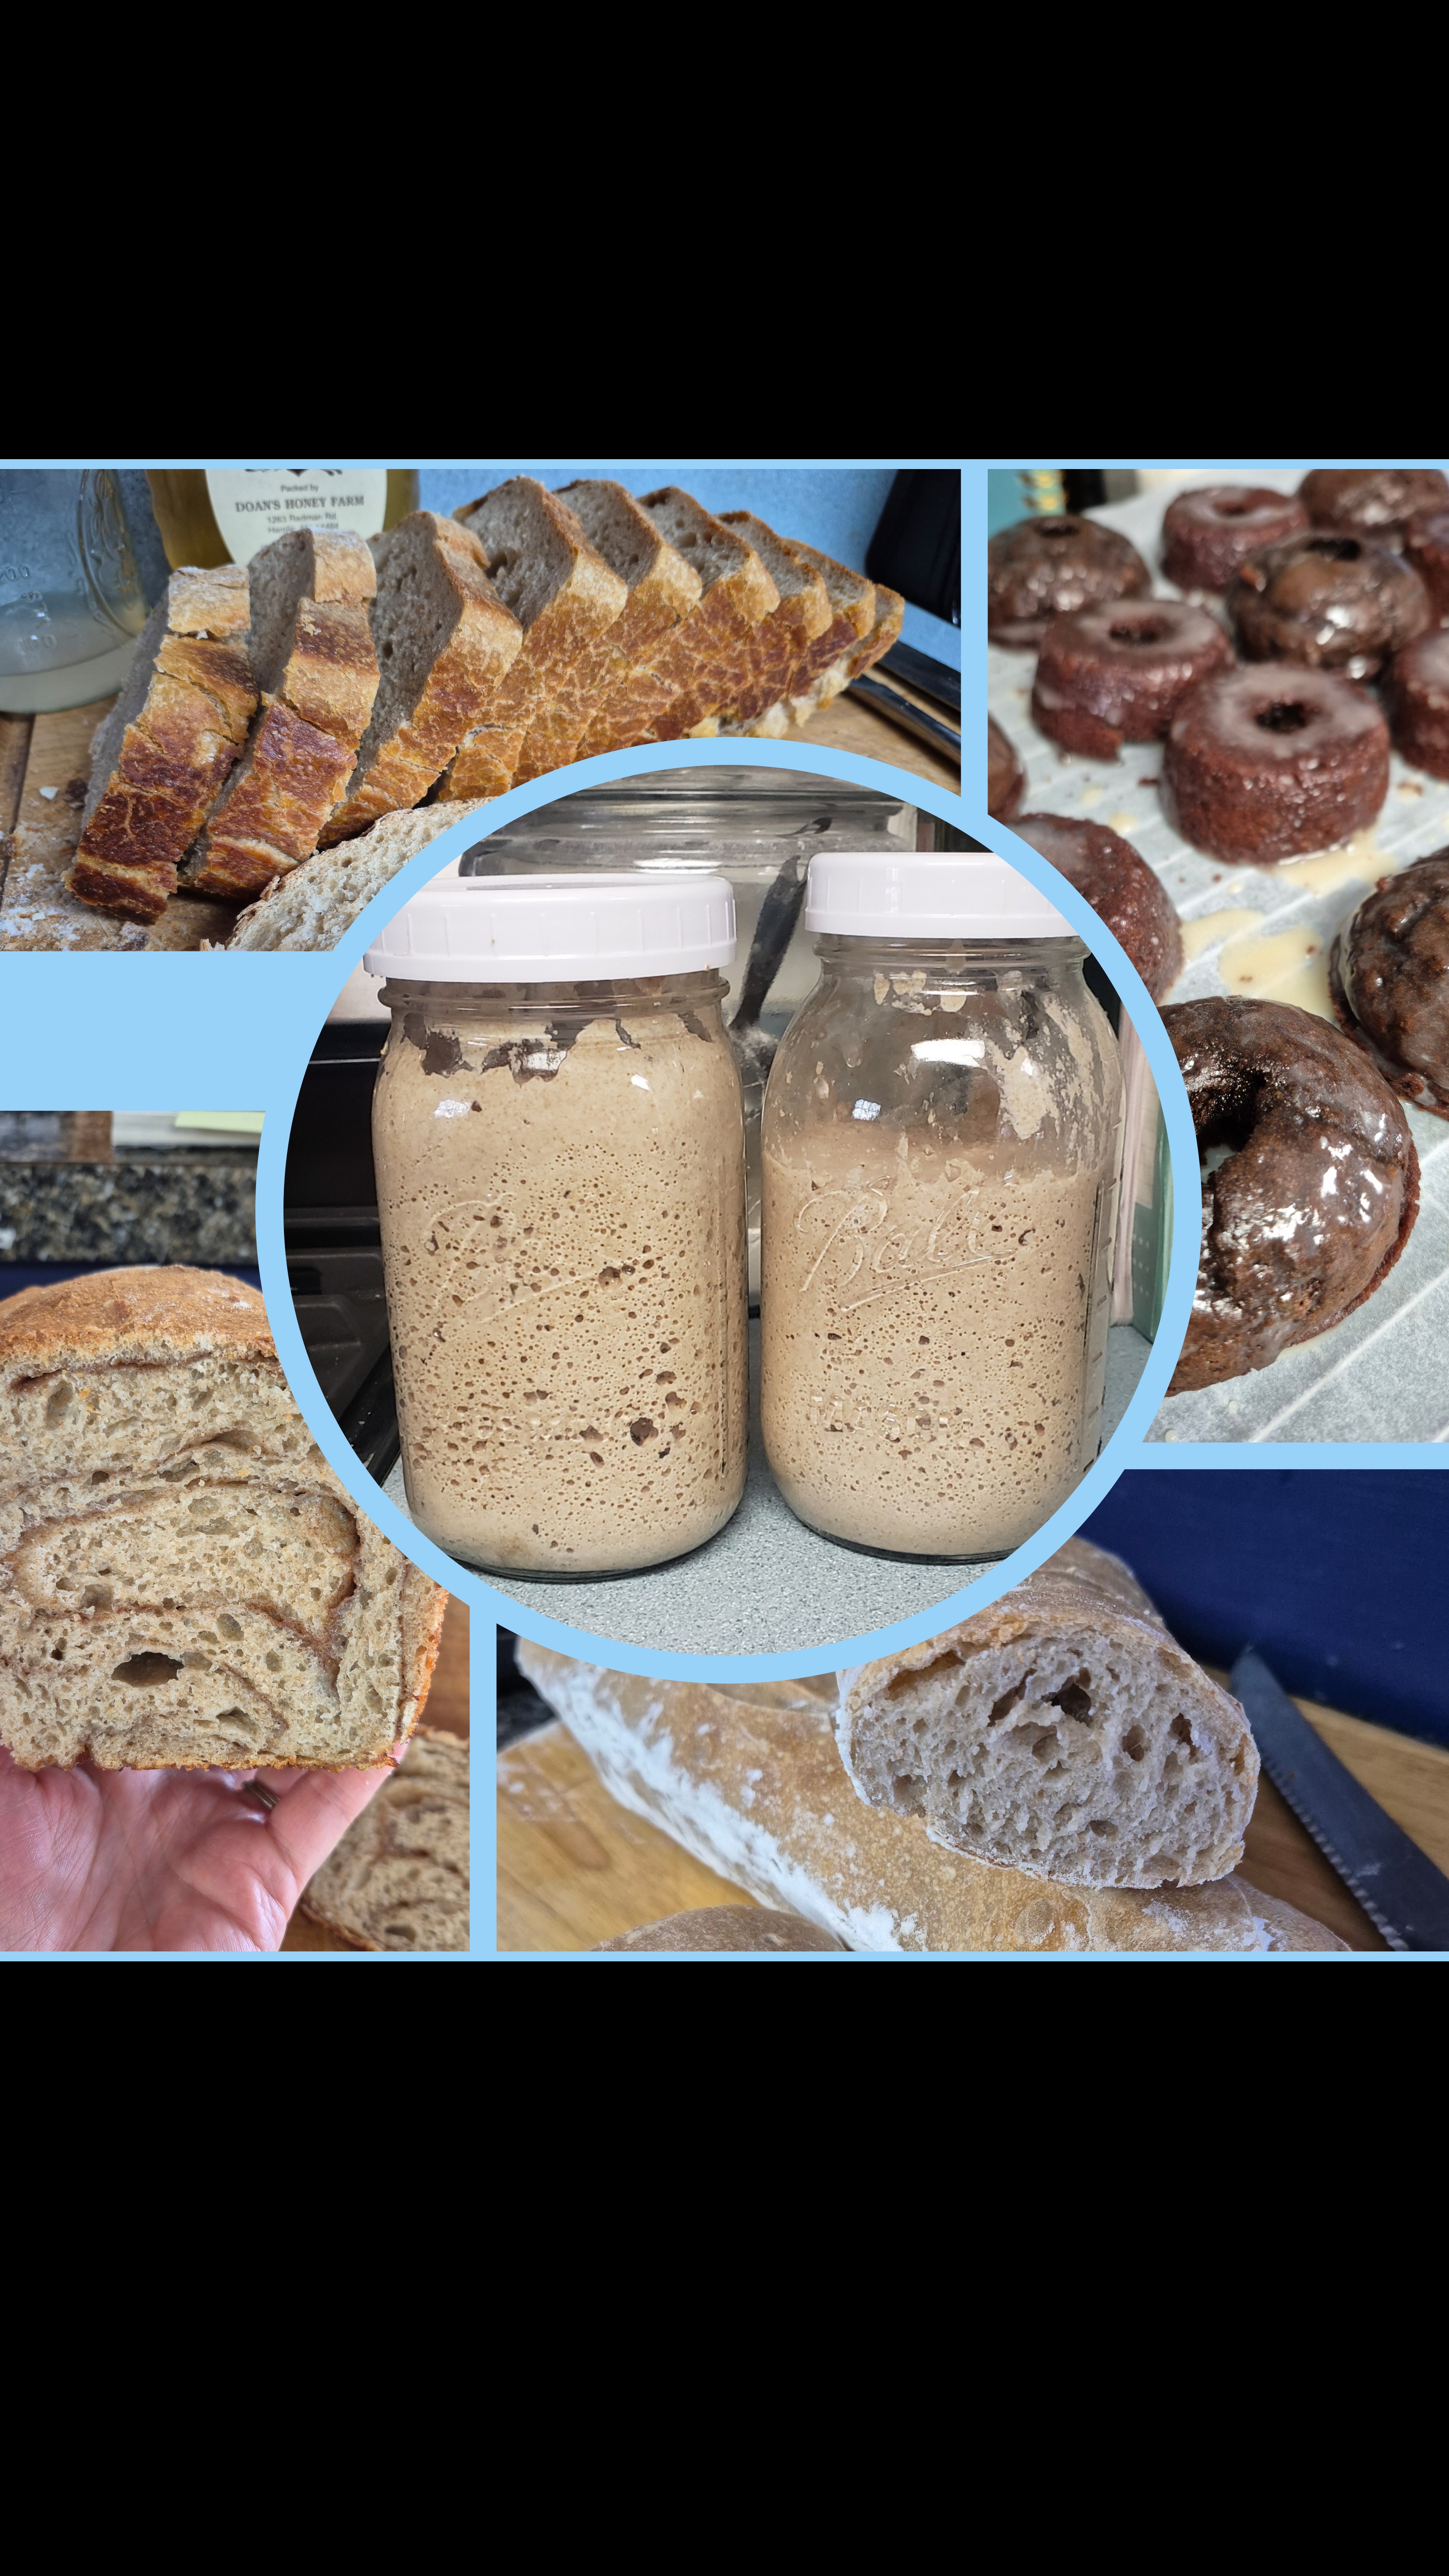
These days, everyone seems to be on the Sourdough bandwagon so I figured this might be a good time to share my experience since I have been working on mine for over 3 years now. I've recently named my starter too, which I always thought was dumb. But after 3 years of growing this living organism on my counter, I felt like it was time to recognize him (yes mine is a him, not like most have girl names for theirs): Noa.
For anyone interested, I'd like to tell you about what I have found worked and what didn’t work when starting Noa, all the way up to baking up a delicious loaf of bread. For someone who has read all the articles and watched ALL the videos on everyone else's experience, I have come to the conclusion…. There is no one way to make a perfect sourdough bread.
I’d like to start with the starter itself. When I first started this process, I tried AP flour (All purpose King Auther) but was not successful. I found using the Organic King Aurther Whole Wheat flour was the way to go. But again, that is just my experience. In reading all the articles about starting, I found out that Whole wheat flour is quicker to ferment than All purpose flour. This is because whole wheat flour contains natural yeasts and enzymes that will help the fermentation process. This has also led me to using Whole wheat flour in my actual sourdough recipe, but I will discuss that further in this blog.
When it comes to baking up the “Perfect” loaf, there is no such thing as one basic recipe. It took me the last four years of baking to realize this. I think that is why I have grown to love baking up bread so much. I am always trying to ‘perfect’ or make my recipes better than the last. That is what keeps me baking and finding new techniques. I think that goes for anything in my life. “Learning something new everyday” is how I take my baking experience. (It is also what I tell my 2nd grader when I'm teaching her ALL the way to do Math).
My first recipe for a Sourdough bread is a lot different these days than when I first started. My original recipe had a 60% hydration level when now I do about 72%. “What is a hydration level” you may ask….
Well, it is the fancy way of talking about how much liquid you use in your sourdough recipe compared to the amount of flour. This part is what I have come to realize is very fluid (no pun intended). I’ve spoken to a few friends who have been baking up their own sourdough, and realized they have a completely different method to making their own ‘Perfect’Sourdough. A lot has to do with the temperature in your house and the process you use as you create your loaf. Here is what I do which seems to help me with my process…..
1.Flour: I used to swear by Bread flour when making my sourdough but I’ve recently been converted to full organic. I found the bread flour works great BUT the organic all purpose flour works just as good. I also use 10% organic whole wheat flour in my recipe. I just found the WW flour helps ferment a bit faster. It will also give it the slightest whole wheat taste but it all depends on your taste.
2. Stretching and Folding: Many people wait one hour between each stretch and fold, but I have found 30-40min works just as well. I also do 4 of these but sometimes if I don't have time, I do three. I haven’t found a difference in this step yet.
3. Rising: This step really depends on how warm my house is. So I use the “Doubling” rule with this step. Once the dough has risen at least 75%, then onto the next step. This could be 5-10hrs. It will also depend on what I have going on that day, and trying to squeeze in one loaf of bread is my life.
4. Shaping: I JUST started to perfect this shaping process. Once the proofing of the dough is complete, I lay the dough out on the floured surface, and stretch it out as a rectangle. Then fold the two long sides in, then roll up the short sides. I then do the tuck and roll a few times until I have created the “boule” form I like. If you need further instructions on this, I recommend watching videos of people creating this “boule”. It is really simple and it really does create a nice rounding effect for the dough.
5. Cold proofing: I have seen mixed results with this process. I have also seen other people completely skip this step. In my beginnings of sourdough making, I never actually did this step and my loaves came out fine. But, in the last few months I have started to do this step and found it makes my loaves from being good to Awesome! I cold proof mine between 5-12hrs but I have heard you can cold proof up to 36hrs. For me it just depends on how much time I have and what other things I have going on that day. (I keep saying that but I know everyone has various schedules and making bread can fit anyone's life.)
6. Baking: I’ve seen and read a million ways to bake a sourdough (no joke). The one thing that has not changed is heating up my dutch oven for 30 minutes and leaving a bowl of ice in the oven through the baking process. I found the temperature you bake at just depends on what you prefer. I never found much of a difference:
a) Bake at 450* covered for 30 minutes, then 20 minutes uncovered until golden.
b) Bake at 480* covered for 30-40 minutes, then 430* uncovered for 10-15 minutes or until golden.
I am not by any means a professional sourdough maker, but can say I am learning how to improve my recipe everyday. I don’t think that process will ever end. I hope my recipe changes throughout the years and I learn different techniques in the process. So will yours if you are working on your own starter.
My goal is to help out those who are willing to listen to my experience and hope it will guide them to experiment with their own recipes. Because baking bread should be fun and there is always time in the day to make a warm crusty bread. Plus, there is no wrong way to do this. The perfect recipe will look different in every kitchen.
Bake on my friends!
Bon Appétit